Shares 2
How To Repair Motorcycle Seat Cushion Foam?
Last updated on 06-Aug-2024 , By Saleh
As a motorcycle rider, one of the most essential aspects of enjoying a comfortable and smooth ride is a well-cushioned and comfortable seat. A well-cushioned seat not only allows comfort even on long motorcycle rides but also makes the ride more enjoyable every time. However, over time, the foam in the seat cushion can wear out and lose its shape, leading to discomfort even during daily short rides. Consequently, here we will describe how to repair motorcycle seat cushion foam; stay with us.

How To Repair Motorcycle Seat Cushion Foam?
A motorcycle's seat cushion is a vital part of the motorcycle that directly affects the rider's comfort and enjoyment during the ride. However, for many reasons, it may need repair and re-cushioning over time. Consequently, here we are providing you with a comprehensive process to repair your motorcycle seat cushion foam and get your bike back to its comfortable characteristics.
Repairing motorcycle seat cushion foam is a quite manageable task that can be done with some basic tools and materials. For the repair and restoring process, you may need materials like a screwdriver or wrench set to remove the seat, replacement foam or a foam repair kit (available at automotive or upholstery stores), an electric carving knife or utility knife, adhesive, sandpaper (medium and fine grit), and a piece of vinyl or leather to cover the seat.

Also read: Muc-Off Matt Finish Detailer-250ml Price In Bangladesh | BikeBD
However, when you are prepared, park your motorcycle on a center stand or paddock on a plain surface. Consider working in a place that has better airflow and proper illumination facilities. Then the first step is to remove the motorcycle seat from the bike. Typically, seats are attached with screws or bolts at the bottom. Use a screwdriver or an appropriate tool to remove them carefully. Keep the screws safely in a container to avoid losing them.

Inspect The Seat, Assess The Damage, And Work On That
Once the seat is removed, examine the foam for signs of wear, tears, or unevenness. If the foam is severely damaged or beyond repair, consider replacing it entirely. If only specific areas are damaged, proceed with the repair process. For minor tears or holes in the foam, patch them up using foam adhesive or glue. Clean the area around the damage and apply the adhesive following the manufacturer's instructions. Allow the adhesive to dry completely and then cover the area with a piece of vinyl or leather material matching the seat cover.
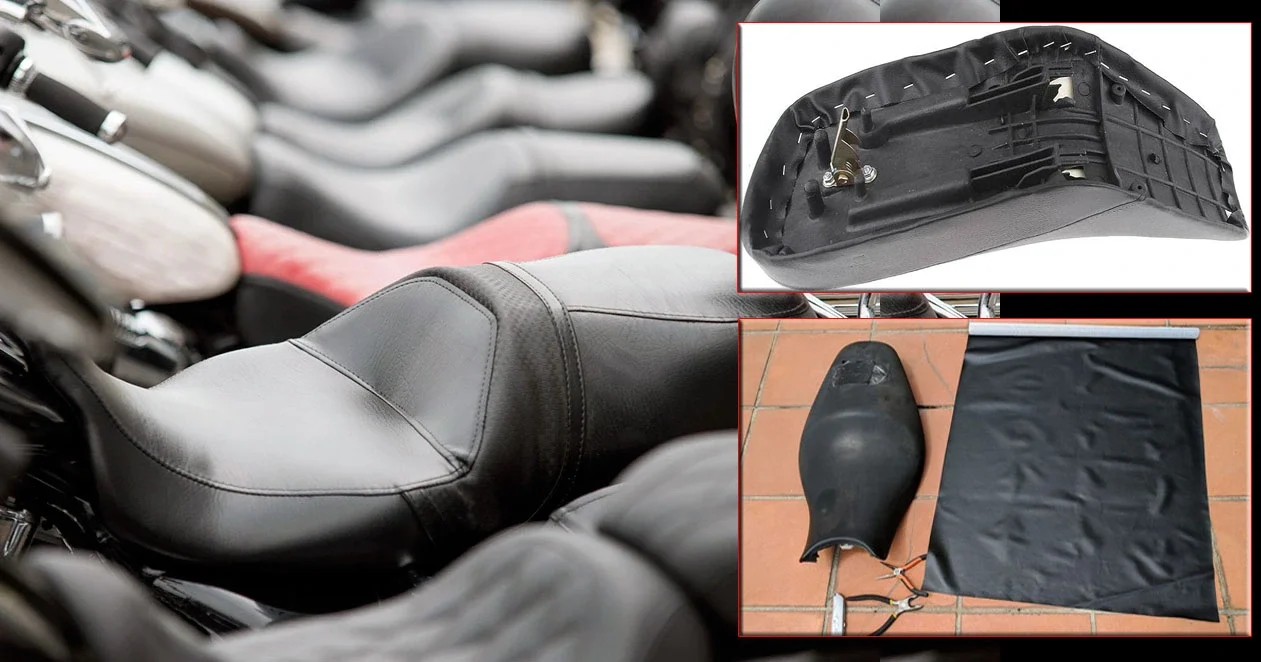
If the foam of the seat is completely deformed, you may need to replace the entire foam. In that case, you will need to carefully remove the cover to expose the foam. This can be done by undoing any zippers or fasteners. Be cautious not to damage the cover during this step, as it will be reused later. Then, measure the dimensions of the original foam and cut the replacement foam to the same size. Make sure the replacement foam matches the thickness and density of the original one.
While you're replacing the entire foam, use adhesive spray to secure the new foam onto the seat base. Apply the adhesive evenly on both the seat base and the replacement foam. Then, press the foam firmly onto the seat base and allow it to bond according to the adhesive manufacturer's instructions. To achieve the desired contour and comfort level, use sandpaper to shape the foam. After shaping the foam, reattach the seat cover. Make sure the cover fits evenly and secure any zippers or fasteners that were opened earlier.
Reassemble The Seat And Have Fun
Once the foam repair is complete and the seat cover is properly reattached, fix the seat to your motorcycle again using the screws or bolts removed earlier. Ensure that the seat is securely fastened to prevent any movement or instability during rides. So, this is the basic process of repairing or restoring motorcycle seat foam, and it is quite an easy job. Hope that you have found it helpful. Thanks.
T
Published by Saleh


